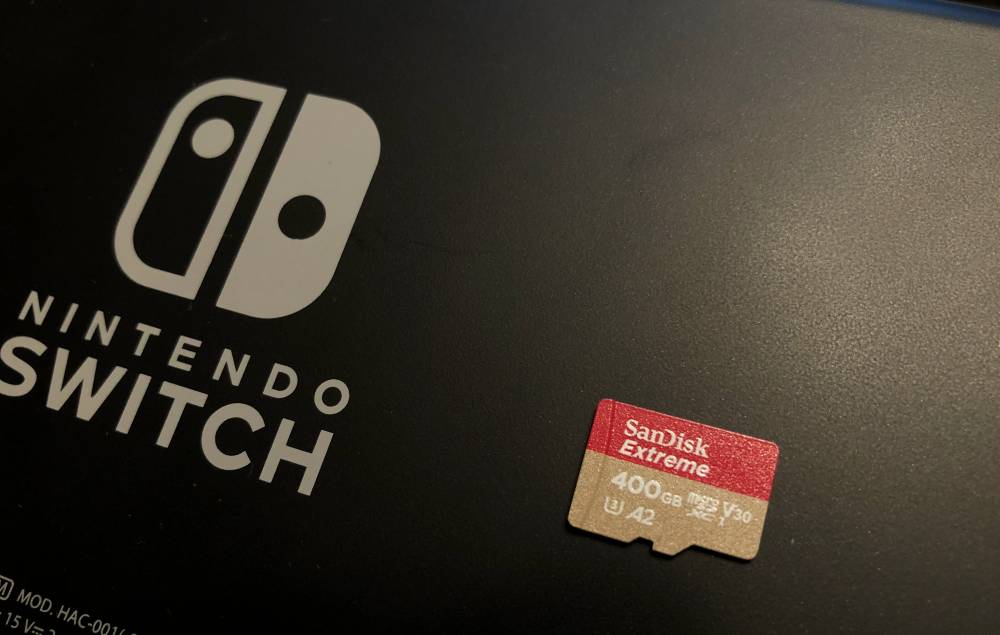
My 128GB micro SD card is at full capacity and not able to hold all of my Nintendo Switch games anymore. I bought a 400GB micro SD card with a Black Friday deal. Here’s how I clone everything to my new memory card using the dd command. The dd command is a handy tool to copy files bit by bit from one device to another.
There are only 3 steps, but I have a bonus step for you:
- Find The Mounted Points
- Format the Micro SD Card
- Copy The Entire Card
- Bonus: Check dd Progress
1. Find The Mounted Points
Mount both memory cards to your computer. Then, run the following command to list all of the mounted drives:
df -hdf is a great command that reports file system disk space usage. The -h flag means to print the output in a human-readable format.

From the output, I can tell that my 128GB micro SD card is mounted to “/dev/sdc1” in my file system. The new 400GB micro SD card is mounted on “/dev/mmcblk0p1”. The reason why it’s not showing the exact capacity is that I’m using the ext4 filesystem. It reserves 5% of the capacity for important root processes. Here’s an explanation I found on the StackExchange website.
2. Format the Micro SD Card
Since this is a new memory card, we need to format it. There is an easy way to do that with a GUI application called Disks on Linux Mint or any Ubuntu distro. This step is for educational purposes only. Skip this if you don’t want to go through the hassle of the command line.
Nintendo Switch uses FAT32 format. So be it. As we know from step 1, the new SD card is mounted on “/dev/mmcblk0p1”. We need to unmount it first.
sudo umount [path-of-your-new-memory-card]Remember to change [path-of-your-new-memory-card] to the one you found at your machine in step 1. Below is mine:
sudo umount /dev/mmcblk0p1Next, we have to create a new partition. I’m assuming you know the path to your memory card from this point. I’m going to use [path-of-your-new-memory-card] instead of my own path.
sudo fdisk [path-of-your-new-memory-card]You will enter the interface of the fdisk command. It looks like this:

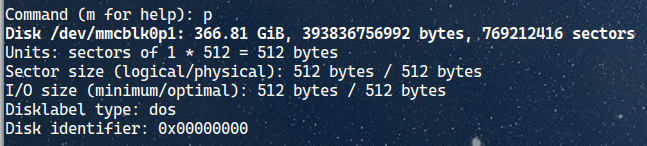
Type the letter P and hit enter. You will see the information on the partition table of your memory card. Mine looks like this:
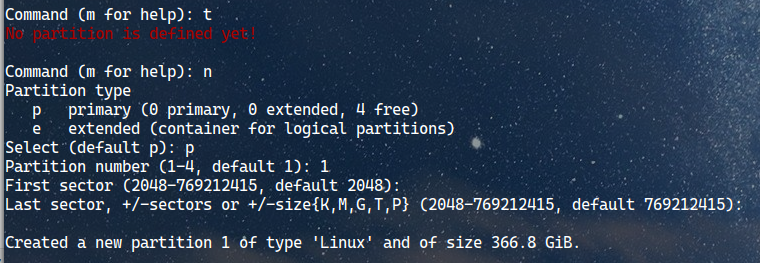
Type the letter T and hit enter. You will see the text “No partition is defined yet!”.
Then type the letter N and hit enter. This is the command to create a new partition. Next, type the letter P to select the primary partition type or simply hit enter to select the default.
We only want to create one partition, so type the number 1 or just hit enter to select 1 by default. For the first sector and last sector, also just hit enter to select the default option.
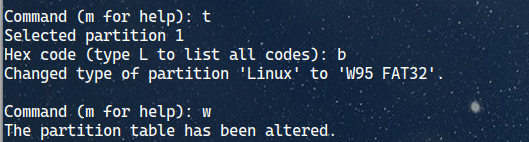
Last but not least, we need to change to partition type to FAT32. Type the letter T again and hit enter. Select partition 1, which is the one we just created. Then type the letter b to select “W95 FAT32” format. If you want to explore more options, type the letter L, and hit enter.
After that, type the letter W to save the changes.
All the above are to prepare us for formating. Now we have to actually format the memory card. Use the following command to format the memory card. And your memory card will be usable. 😁
sudo mkfs.vfat [path-of-your-new-memory-card]
3. Copy The Entire Card
This step is simple. Basically, you just run the following command:
sudo dd if=[origin-of-your-file] of=[destination-path] bs=4M status=progress[origin-of-your-file] is the path that you need to replace with the original micro SD card in your system. [destination-path] is the path of the new card. bs is how many bytes dd command should read and write at a time. The default is 512 bytes. I changed it to 4M, it means 4 megabytes. It’s the same if you just do 4096(without the letter M at the end).
In my case, my actual command would be:
sudo dd if=/dev/sdc1 of=/dev/mmcblk0p1 bs=4M status=progressNow, just sit back and relax until it finished. The same method can be used to create a bootable Linux image using a micro SD card or USB flash drive. You got the idea.
4. Bonus: Check dd Progress
If you forgot to type in “status=progress” in the dd command like me, you can check the status by opening a new terminal instance. Then type in the following command:
sudo kill -USR1 $(pgrep ^dd)This will display the progress of the dd command in the original terminal.

If you want to display the progress every n seconds, try the following command:
watch -n[number-of-second] 'sudo kill -USR1 $(pgrep ^dd)'Replace [number-of-second] with a number. Say you replaced it with 30, then the terminal will display the progress every 30 seconds. See my example below:
watch -n30 'sudo kill -USR1 $(pgrep ^dd)'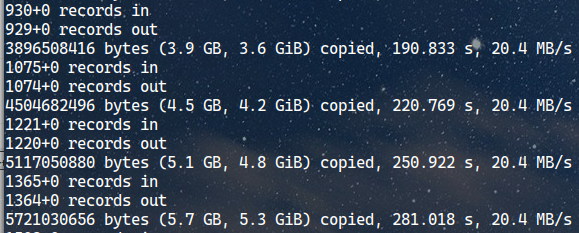
To stop watching, simply use Ctrl + C in the second terminal. Make sure you do NOT do that in the original terminal that’s running your dd command. Otherwise, you will have to start over again.
Today, we have only touched on the basics of the dd command. Let me know if you have any suggestions.